“Worth Every Moment!” — 5 Gay Dad Families Share Their Journeys
We are constantly showcasing incredible gay dad families over on Instagram. Here is a quick roundup of some of our

We are constantly showcasing incredible gay dad families over on Instagram. Here is a quick roundup of some of our
We love featuring gay dad families and their stories on our Instagram page! Check out of some of the beautiful families we’ve
We love featuring gay dad families and their stories on our Instagram page! Check out of some of the beautiful families we’ve
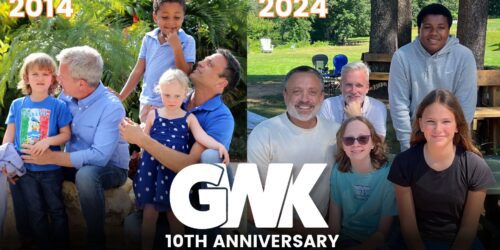
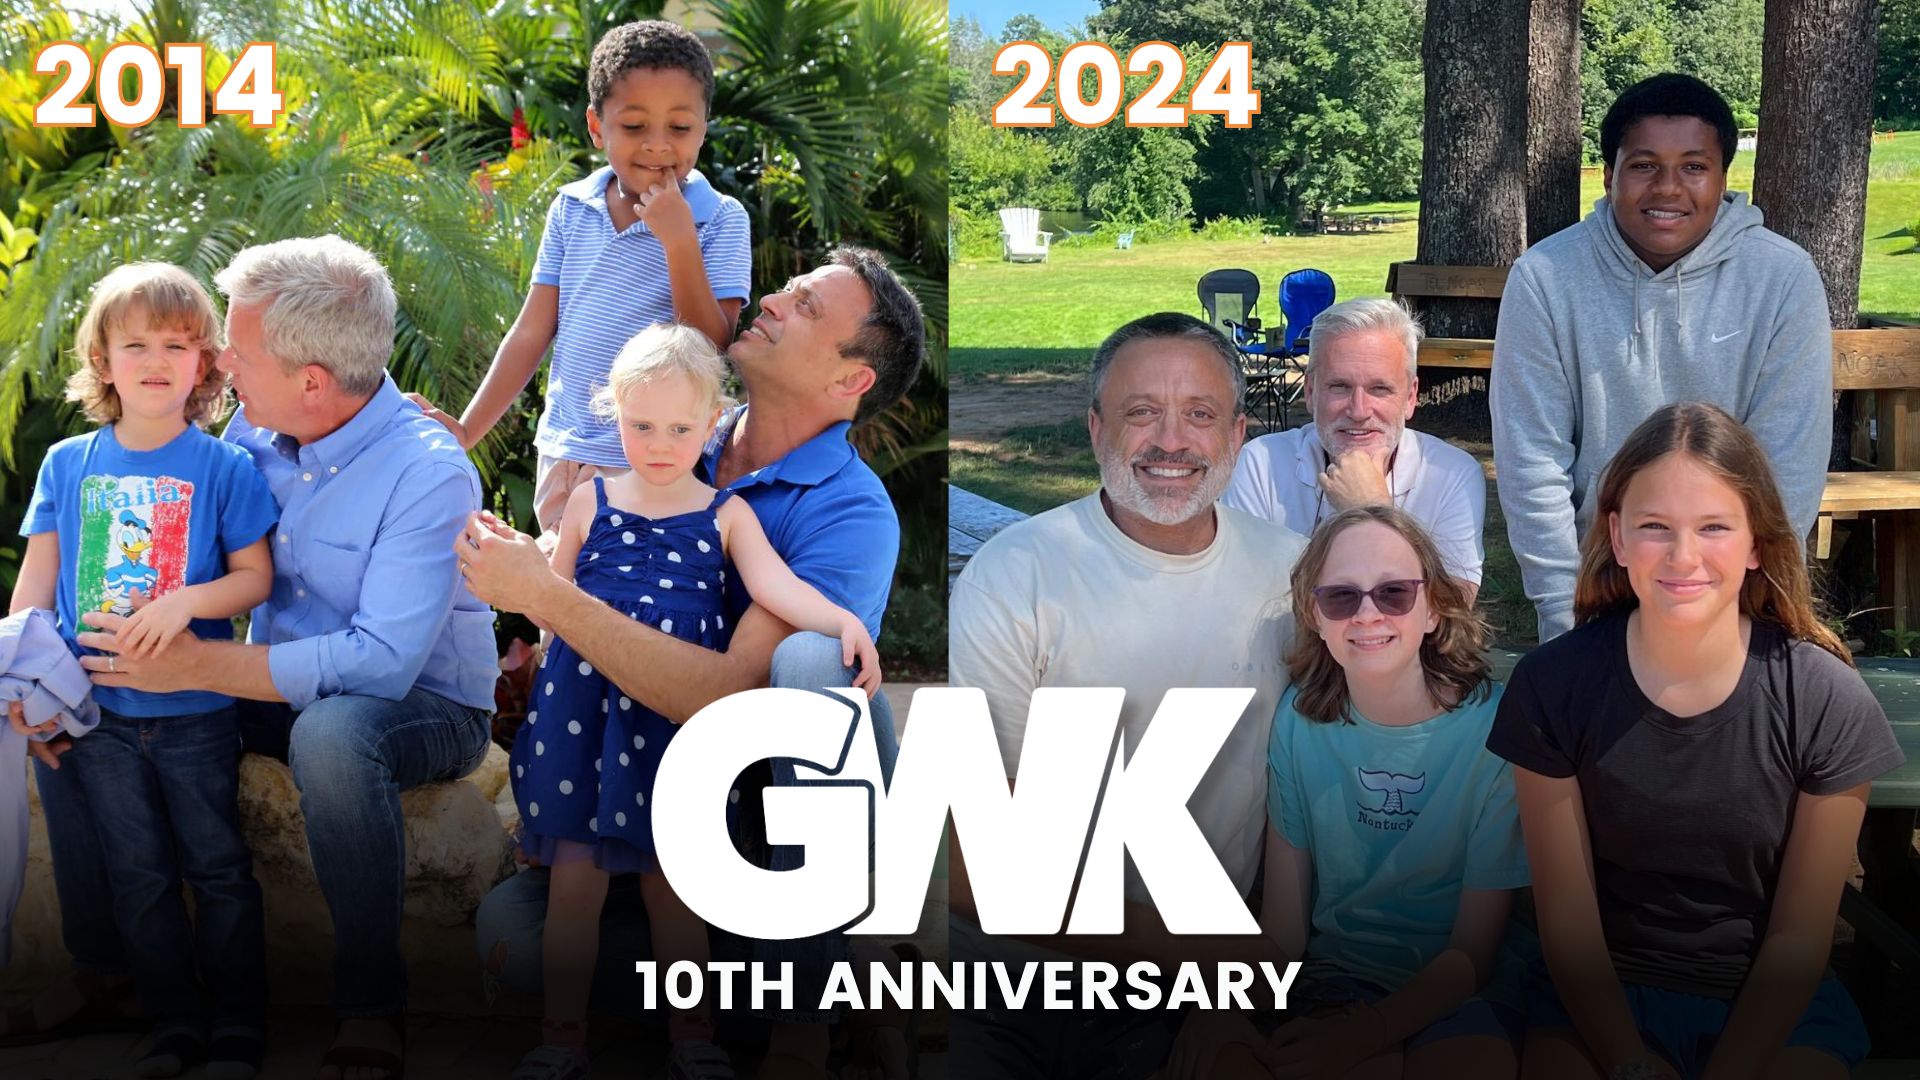
10 years of Gays With Kids We’re celebrating 10 years of Gays With Kids / GWK, and we want to
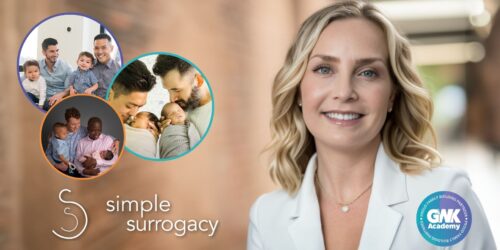
At Gays With Kids / GWK Academy, we are proud to announce Simple Surrogacy is returning for the third consecutive
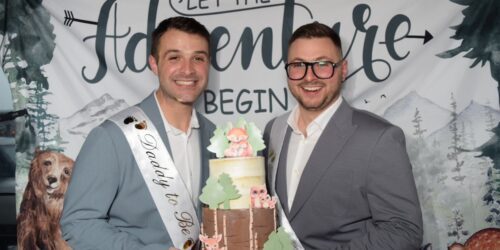
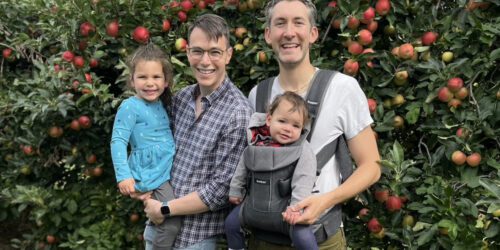
Very early in Michael and Ryan’s relationship, they knew they wanted to be dads. But they decided that for the
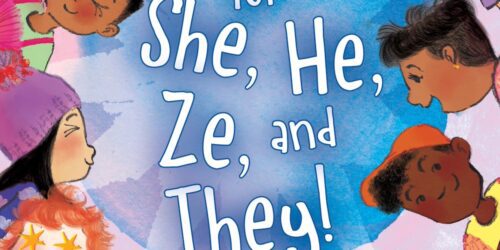
Guest post written by author Lindz Amer.Hi, friend! I’m absolutely over the moon to share my debut picture book, “Hooray
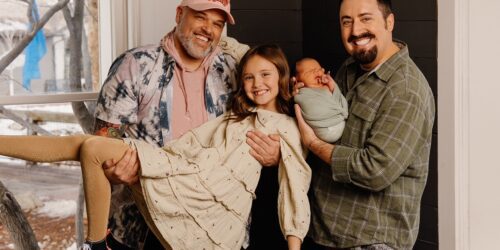
Jarret and Elliot are NYC-based dads to two young daughters through surrogacy and egg donation. Unlike our typical GWK stories,
It was 2014 and San Francisco husbands Brian and Preston are meeting their eldest daughter for the first time. Little